You can enjoy pie again with this gluten free pie crust recipe. It is so good that both gluten free and non gluten free eaters will enjoy it!
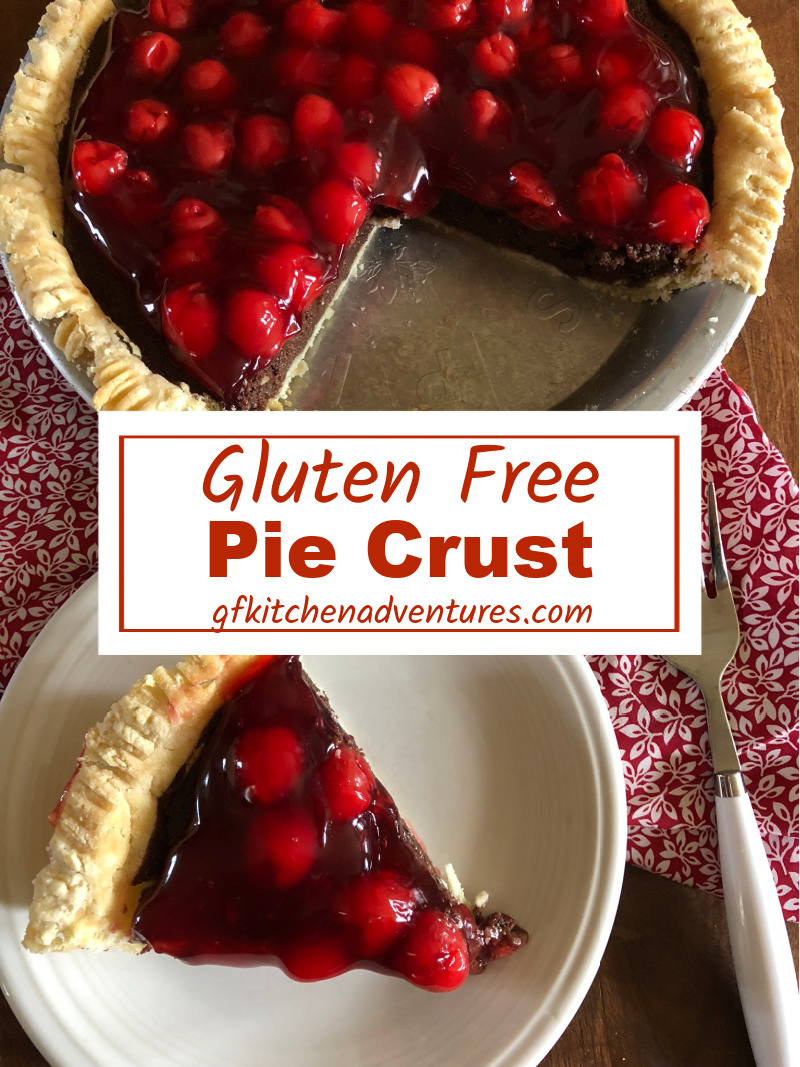
Since going gluten free eleven years ago, I have tried many gluten free pie crust recipes.
I have tried both homemade and store bought crusts. I have tried ready made gluten free pie crusts, gluten free pie crust mixes, and various homemade gluten free pie crust recipes.
Some have been good, but none have great. My search for the best gluten free pie crust continued.
The problem with gluten free pie crust is that you are missing the gluten. You need the gluten to get light delicate layers that make up pie crust. You want a pie crust to be flaky not tough.
My goal with all my gluten free recipes is to have the best taste and texture. I want it as close to the real thing as I can get. I want a gluten free pie crust so good that no one will know that it is gluten free.
I have lost count on how many gluten free pie crust recipes I have tried. I knew that I finally had the recipe right when my son ate three pieces of pie. My son doesn’t have to eat gluten free. He has had real pie crust recently. Both my husband and son said that this gluten free pie crust is so good that you cannot tell that it is gluten free.
Not only was this gluten free pie crust delicious, it was also delicious the next day. The leftovers were just as good.
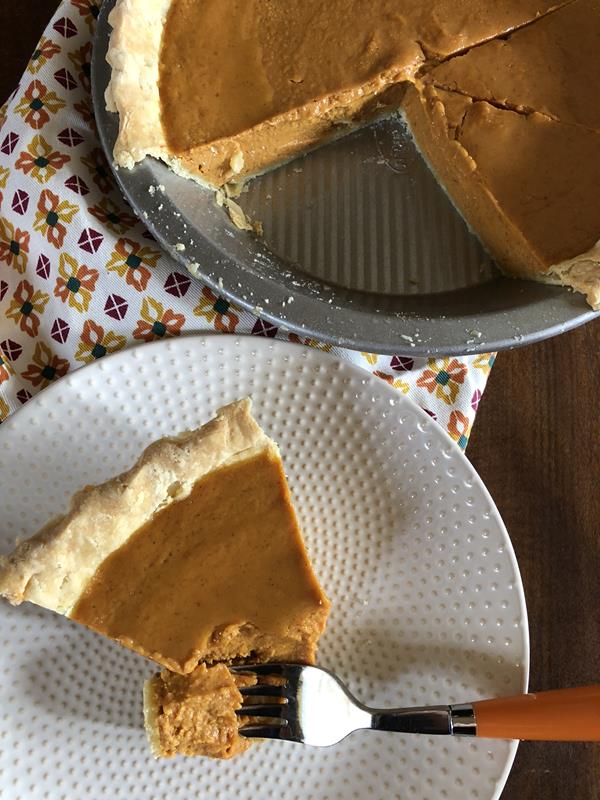
Is gluten free pie crust easy to make?
Gluten free dough is a little bit of a challenge to work with, but it is not hard. Anyone can make this, it just takes a little patience.
It also isn’t the prettiest of pie crust. However, when it comes to gluten free I always feel like taste and texture are the most important thing.
Tips for making gluten free pie?
- Weather can make a difference. The amount of liquid you use can vary depending on the weather. Start with the lower amount and add more if needed.
- Use cold water and cold butter. Very cold. I use ice water and butter straight from the fridge.
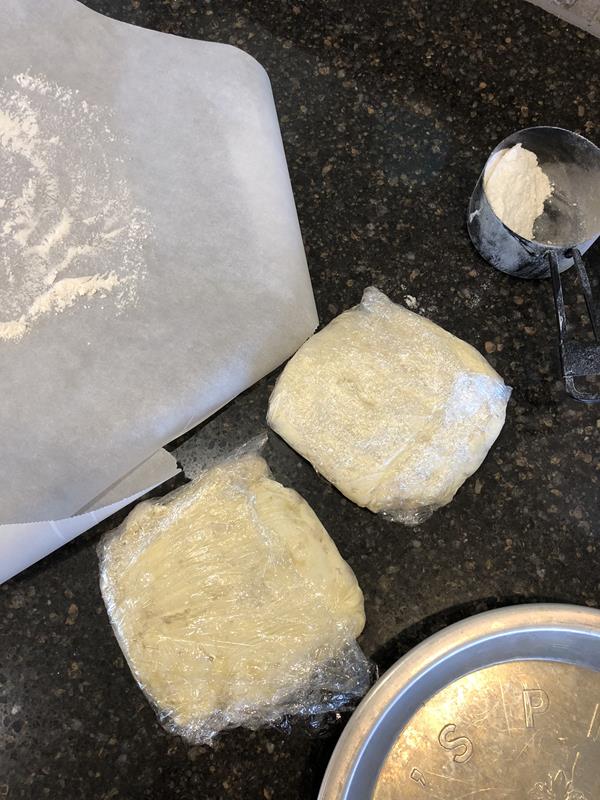
- The dough needs to be cold. After you make the dough, wrap it in plastic wrap, and refrigerate it for 1 to 2 hours.
- It works best to roll the dough out on parchment paper, plastic wrap, or a Silpat type mat. You will use less flour and it will make moving it to the pan easier.
- Be patient when working with the dough. It has a slightly different texture than normal pie dough. You will have to do some pressing and patching of the dough. Be careful not to use too much flour when rolling out or it will get tough.
- Move the dough around occasionally when rolling out adding a little bit of flour to keep it from sticking.
- Peel off one side of the parchment paper or plastic wrap and flip it into the pan. Peel off the parchment paper.
- Refrigerate the crust in the pan before filling. A cold dough will help give it the flaky crust that a regular crust has.
- If you are baking this before filling, like for a pudding or no bake type pie, prick the bottom of the crust with a fork and bake or line the pie crust with parchment paper and use pie weights or rice so that the pie keeps its form.
Gluten Free Pie Crust Recipe
There are a few unusual ingredients in this recipe. They help make it what it is. I took some tips and tricks from older regular pie crust recipes and combined them in this gluten free pie crust recipe.
I tried different combinations of fat for this recipe.The butter shortening combination is what helps give this a flaky texture. I tried all shortening and all butter and it wasn’t the same. The combination of both is what gave the best results.
I know shortening is not healthy, but we are talking about pie here. Pie isn’t healthy. Pie is an occasional treat that I am perfectly fine using shortening in if it will give me the best results.
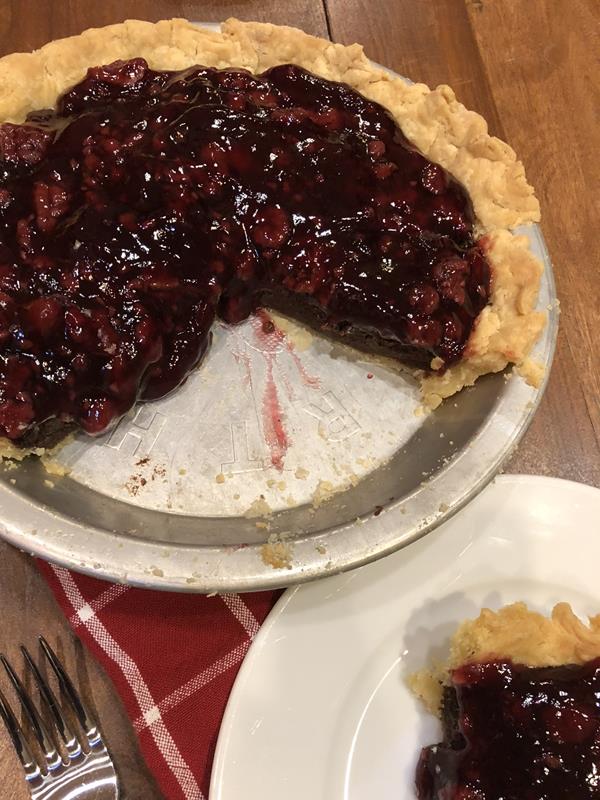
Gluten Free Pie Crust Recipe
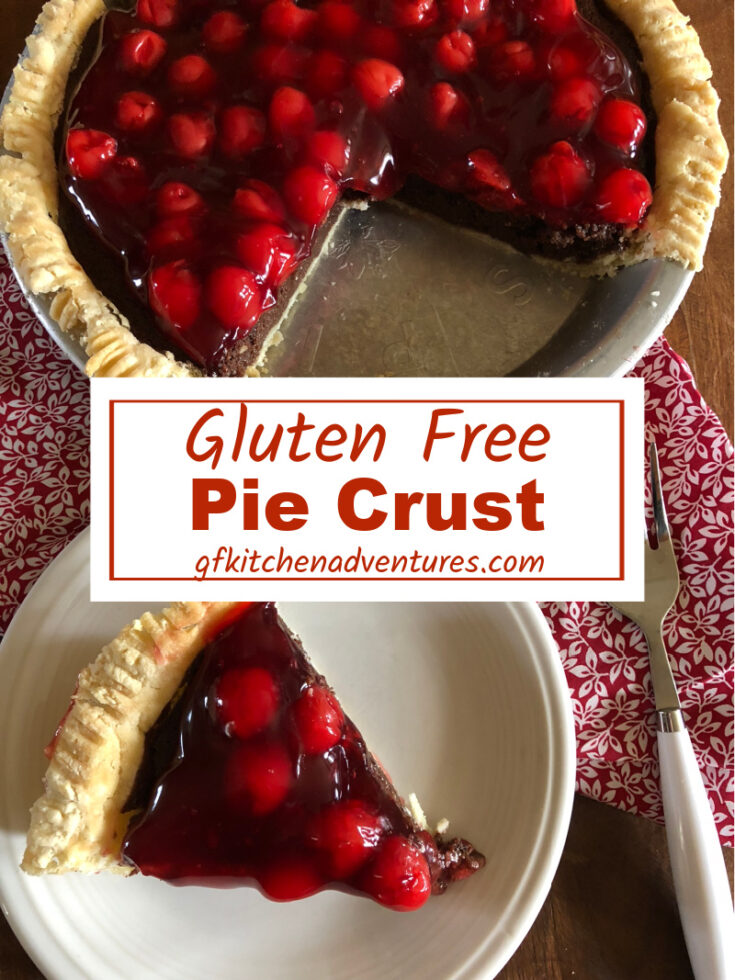
Gluten Free Pie can be delicious with this gluten free pie crust recipe.
Ingredients
- 2 cups Bob's Red Mill 1 to 1 Gluten Free Flour Blend
- 1/4 teaspoon salt
- 1/2 cup butter, cut into chunks
- 1/2 cup shortening
- 1/3 to 1/2 cup cold water
- 1 egg
- 2 teaspoons vinegar
Instructions
- In a bowl cut in butter and shortening into flour until it looks crumbly and butter is slightly larger than pea sized. You can use a pastry cutter or fork to do this. It should be a bit crumbly with the chunks of dough about pea size.
- In a small bowl combine egg and vinegar and add to flour butter mixture.
- Add water slowly to flour/butter mixture a few tablespoons at a time. Be careful because you do not want this to be too wet, that is why you add it a couple tablespoon at a time. Mix until it forms a dough.
- Divide the dough in half and form two round disks.
- Wrap in plastic wrap and refrigerate for at least 1 hour or until cold.
- Roll the dough out on parchment paper, plastic wrap, or a Silpat type mat. It will roll out better, you will use less flour, and it will make moving it to the pan easier.
- When rolling out the dough be patient with it. It has a slightly different texture than normal pie dough. You will have to do some pressing and patching of the dough. Be careful not to use too much flour when rolling out or it will get tough.
- Move the dough around occasionally when rolling out adding a little bit of flour to keep it from sticking to the parchment paper.
- Peel off one side of the parchment paper or plastic wrap and flip it into the pan. Peel off the parchment paper.
- If there are any cracks or torn spots use scraps of dough and press the dough together to repair it.
- Trim the edges and press or crimp them.
- Refrigerate the dough for at least 1 hour before baking or filling to bake. You want cold dough for baking to keep the crust flaky.
- Fill and bake according to your favorite pie recipes.
Notes
This may work with other gluten free flour blends, but I have only tried it with Bob's Red Mill 1-to-1 gluten free blend.
Nutrition Information:
Yield:
16Serving Size:
1Amount Per Serving: Calories: 142Total Fat: 13gSaturated Fat: 6gTrans Fat: 0gUnsaturated Fat: 5gCholesterol: 30mgSodium: 83mgCarbohydrates: 6gFiber: 0gSugar: 0gProtein: 1g

Leave a Reply